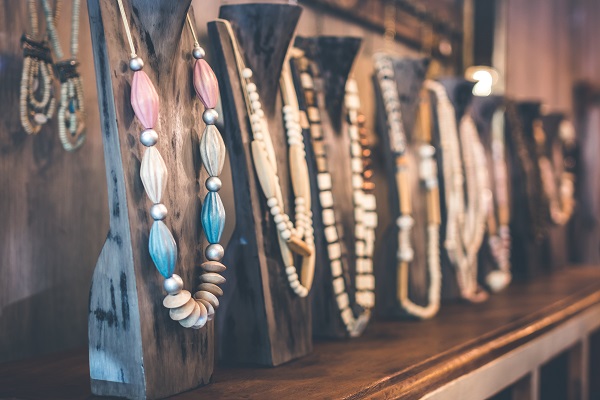

Jewellery designing is a sought-after field for creative minds. This was not the case even a decade ago. But with the celebrity kids pursuing and going abroad to explore their options, it has got everyone curious. Now people who have a family business of making or selling jewellery are delving into it so that they can take their business to another level. At JD Institute of Fashion Technology, we got a whiff of this change years before most of our contemporaries and here we are.
We offer jewellery designing courses that include a one-year diploma and if you can’t devote a complete year then we have a short-term course of just six months as well. To be eligible, you have to be a 12th pass out from a recognized board. Average jewellery designing course fees can range between 12,000 to 7,00,000, a year.
In the diploma course, the students are taught to master the skill of CAD (computer-aided design) which makes designing jewellery more convenient, less time-consuming, and aids you in being more innovative. The students are also taught metallurgy and gemology, metallurgy is the science that deals with the production of metals, and gemology, is quite self-explanatory.
Our national, as well as international collaborations, make the students develop a more global outlook when it comes to designing. To check how much our students have benefited from the course, the students are made to submit a portfolio which is evaluated by their mentor.
Our famous 21-day semester program where the students are made to go abroad draws some inspiration from the world’s rarest museums, architectural spaces, and luxury brand houses. This is our institute’s speciality because the students come back as different individuals altogether. That is the magic of the 21-day program.
Our you’re done with your course; our placement cell helps the students recognize their niche. Just like any other designing course, you can do a lot of things with your degree. Some of them are accessory designing, jewellery consultancy, jewellery designing, and luxury services, you can become a curator as well and can also design costume jewellery.
The recruiters include Zara, Hmm, and Pantaloons, to name a few.
You need to do a full-fledged course to make jewellery. You can make your own jewellery, resin jewellery is quite popular, and we are going to share some easy-to-follow steps to make resin jewellery.
1. Remember to protect yourself with goggles, and plastic gloves.
2. Work in an area that is properly ventilated.
3. You can add anything from two-dimensional to three-dimensional that fits in your mould.
4. Add mod podge to all sides of the embellishment, as they might be discoloured otherwise.
5. Coat the moulds with mould release and let them dry before you go ahead.
1. Choose polyurethane casting resin rather than polyester casting resin as the latter is more toxic.
2. Place the catalyst and resin in hot water.
3. Combine the resin and water in a cup, in equal parts.
4. If you want to create tinted jewellery, you can add colour.
5. Keep on stirring the solution after adding every drop.
1. Pour a layer of resin into the mould and remove the air bubbles
2. Let the resin harden a little so that more layers of embellishments can be added. Wait for 15 minutes.
3. Add more resin to cover heavy embellishments completely. This layer should reach the top of the mould.
4. If you wish to add glitter, now is the time. Since the bottom of the resin is the top of the piece, the glitter will become the background part.
5. If you want to add any transparencies, you can do so by dipping them in the leftover resin.
6. Remove the air bubbles with the help of a hairdryer so that they come to the surface and pop.
7. If you want a paper background for the piece, add the paper to the top with the help of tweezers so that the top side comes on the bottom and makes a good front.
8. Leave the resin to cure and cover it up so that it can be protected from all kinds of impurities. Our motive is to make the resin touchable.
9. You can now remove the resin from the moulds, but it’ll take a while before you can wear the jewellery.
1. Heat the metal eye pin and be very careful while doing it.
2. Poke the metal into the resin charm, it’ll work only if the resin is not completely cured.
3. Add a jump ring to the loop once, the metallic part has cooled down.
1. Glue the mount to the back of the resin.
2. Let it try. This step makes your resin into a wearable ring.
Jewellery designing is not a tough task at all if you can visualize it because the drawing bit has been made easier with the help of designing software. But you need to have an eye for aesthetics because that’s the sole purpose of wearing jewellery.
Having good communication skills is a must in the designing field, you have to be a team player.
In this field, you need to have motor coordination and a good perception of colours. We, at JD, have designed the curriculum in such a way that you can develop your faculties and sharpen your skills that may not be your strong suits. Happy design!
Jewellery design does not demand a lot but you have to have a keen interest in learning. That cannot be compromised. Resin jewellery is quite popular because of ‘its do-it-yourself’ nature. To make resin jewellery at home, you need moulds, gloves, and goggles to protect yourself in case of fumes. Remember to do it in a well-ventilated place.