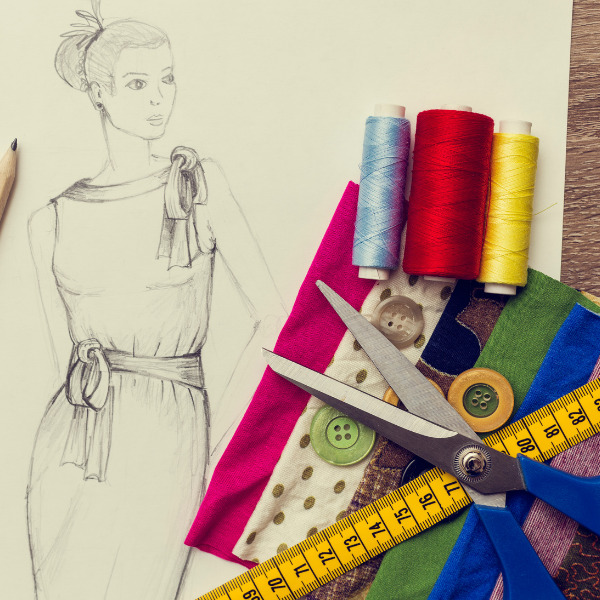

Want to learn how to draw great fashion sketches like famous designers? You’re not a fashion designer, but you’d want to master their tricks.
If you have any questions about the notion of fashion designing and drawing, bear in mind that you need to study a lot of things before you start sketching, especially if you are a novice.
Fashion designers come up with unique and unforgettable ways of drawing where they make simple and attractive models, but with the uttermost detailing that lends life to it, which takes a lot of hard work and desire to learn. You can all understand this with the detailed and diploma courses offered by JD Institute of Fashion Technology.
Fashion drawing is the first phase in fashion design. It is a blueprint for the procedure to be prepared, with every detail and unique style. The fashion drawing can be three-dimensional in terms of draping movement lines, texture, and shading, and it can come to life with color, accessories, detailed face, and haircut.
To be sure, an acceptable fashion design is incomplete without the fashion drawing, which connects all the design parts such as patternmaking, length, fitting, and so on! It offers the plan a language and transmits its topic and individuality through various stances and styles, including minute visual elements. This eventually distinguishes one designer from another, necessitating a keen sense of fashion. After all, it is for this reason that one can tell the difference between Gucci and Versace, Christian Dior, and Dolce & Gabbana luxury clothing.
There are three essential steps for a successful fashion drawing.
Every clothing to be prepared, whether fitted or oversized, has a shape. So, before you create one, you should be clear on which silhouette you want for your brand.
You’ll need to locate different design aspects for your outfit based on the shape you’ve settled on. A garment cannot exist without design detail. Check to see if your design permits ornamental seams, pleats, frills, buttons, zips, collars, embroidery, or pockets. You must determine what details your client desires or what would best suit your clothing to distinguish it from the work of other designers.
Once the garment and detailing have been sketched, it is critical to remove all extraneous lines from the sketch and improve it. This is done to obtain a final look at the masterpiece you intend to build.
Fashion illustrations are created by bringing life to a fashion drawing or sketching by adding colors and textures to the picture. It is the practical application of fashion concepts that you have studied or will study in the future. It provides style and completes the visualisation of your clothing to be developed.
To communicate, you must first understand the primary language; similarly, to draw an illustration, you must first understand the essential methods to express its language. It entails the production of a model, creating a garment design on the model, adding a textile, texture, and print to the method developed, and many other tasks.
The first step is to draw a fashion figure outline from scratch or a fashion figure template. Creating a template is much easier, and if you want to make the figure from scratch, you must go through a few steps.
The most exciting and creative phase begins here. You must now sketch your favorite silhouette on the body of the figure. Begin with an outline to ensure proper shape and styling. But ensure that if you want your profile to be liked by everyone, you should not take inspiration from previously made outfits. Instead, make the latest trends your source of inspiration, which will set your color and silhouette apart from the other designer dresses.
Adding details is required to transform a simple cloth into an elegant pattern. The features in the illustration, such as the draping, wrinkles, and volume of the dress, clearly indicate their effectiveness over the model’s physique. Even in an image, it creates a sense of movement. However, it is not mandatory to provide detailing to your piece. Even a simple silhouette image would suffice, but remember to be inventive in areas you believe anything is required to show your distinct style with each design aspect. After you’ve completed all of the minor details, you may finally draw the figure using a fine liner. But don’t forget to trim unnecessary lines from your figure. Only you will be satisfied with the final result.
Once you’ve completed the silhouette and design elements, it’s time to impart information about the fabric, color, and texture that distinguishes your design. This is referred to as rendering. During rendering, the designers use either one medium, such as paint, or a combination of two or more mediums, such as colored pencils, markers, etc. Such various mediums are tried to match the multiple mediums and details with the illustration to make it look compelling and captivating.
When you spend some time experimenting with sketching techniques and different rendering mediums, you will naturally build your trademark style by examining the work of other illustrators. Color pencils, watercolors, or simply a retro feel – black and white – can all influence your style, as can the type of clothes you wear. However, determining and discovering your illustration style will give your work a distinct identity that will be yours alone.
Designing fashion figures is a creative and exciting activity that allows you to express your inner passion and expression on paper. It narrates a tale and provides the viewer with an experience. With JD Institute of Fashion Technology’s diploma in fashion technology and fashion designer courses, you may learn more about your drawing abilities and turn your ideas into reality.